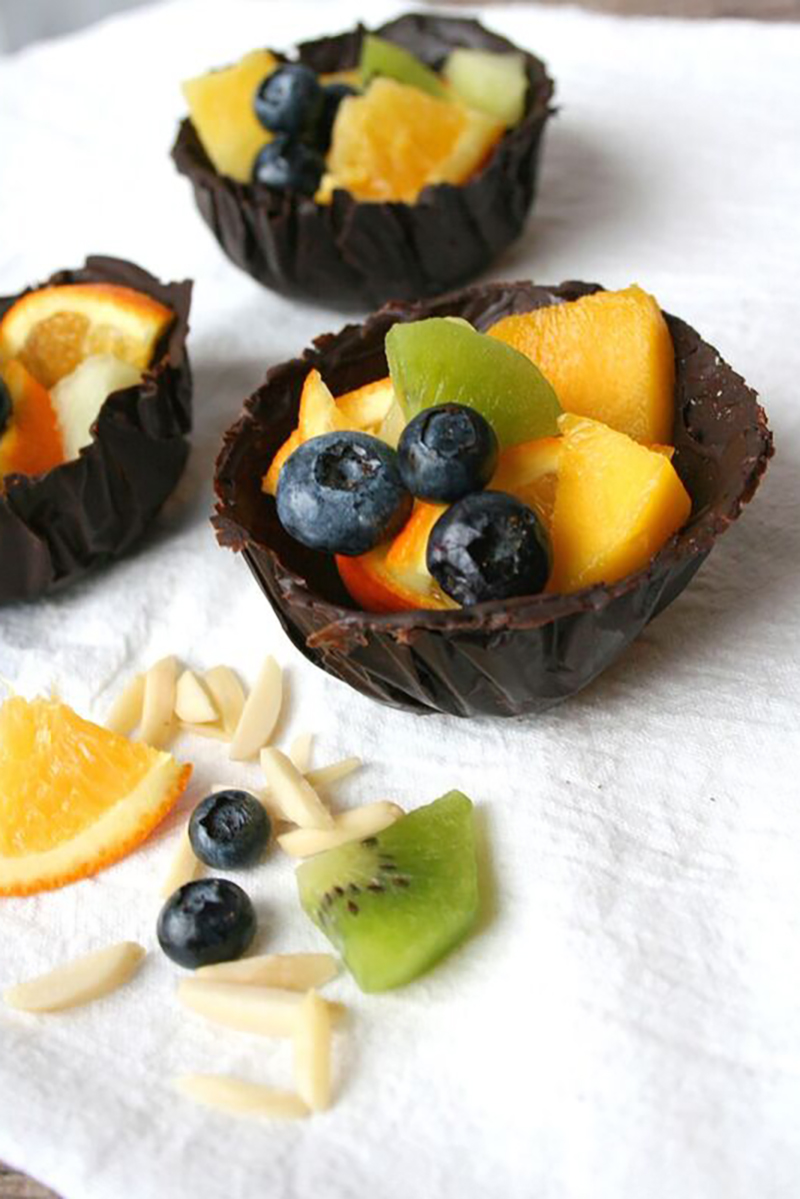
These delectable bowls are composed of one simple ingredient: Perugina 70% Bittersweet Chocolate, which is melted and cleverly molded into a bowl shape.
Melt the chocolate in the top of a double boiler, or by placing it in a heatproof bowl and microwaving in 15-second blasts until the chocolate is mostly melted. Once the chocolate is mostly melted, stir it gently; the remaining bits should melt in the residual heat.
Let the melted chocolate cool for 5-10 minutes. While it cools, line the inside of six small bowls with plastic wrap, pressing the plastic wrap in as smoothly as you can to smoothe it into the shape of the bowl (a few small wrinkles are OK). Use enough plastic wrap so that it slightly hangs over the sides, which will make removal easier later. If you don’t have six bowls for molding, this is ok: you can make the chocolate bowls a few at a time and re-use the same molding bowls.
Using either your small spatula or pastry brush, spread a thin and even layer of chocolate inside of the plastic wrap lining each of the molding bowls, taking special attention to spread the chocolate on the sides. Don’t go too nuts: you’ll put a second layer of chocolate in the bowls, so only use about ½ of the melted chocolate for this step. Once you’ve put a layer of chocolate in each plastic-lined bowl, place them in the refrigerator for about 10 minutes. This will help them “set”
After 10 minutes, remove each bowl unit from the refrigerator. The initial layer of chocolate should be firm and look slightly matte. Brush the inside of each bowl with another layer of chocolate, once again giving special attention to the sides of each bowl.
Return the molding bowls to the refrigerator, and let them set for 10-15 minutes. Remove from the refrigerator, and use the plastic wrap overhanging the sides to pull out the chocolate bowl from the molding bowl. As gently as possible, peel the plastic wrap off. It should come off very easily, and you will be left with chocolate bowls. Keep the bowls in the refrigerator, covered in plastic, until ready to fill.
Once ready to serve, divide the fruit and nuts (if using) evenly between the bowls. Serve immediately.
Servings 6