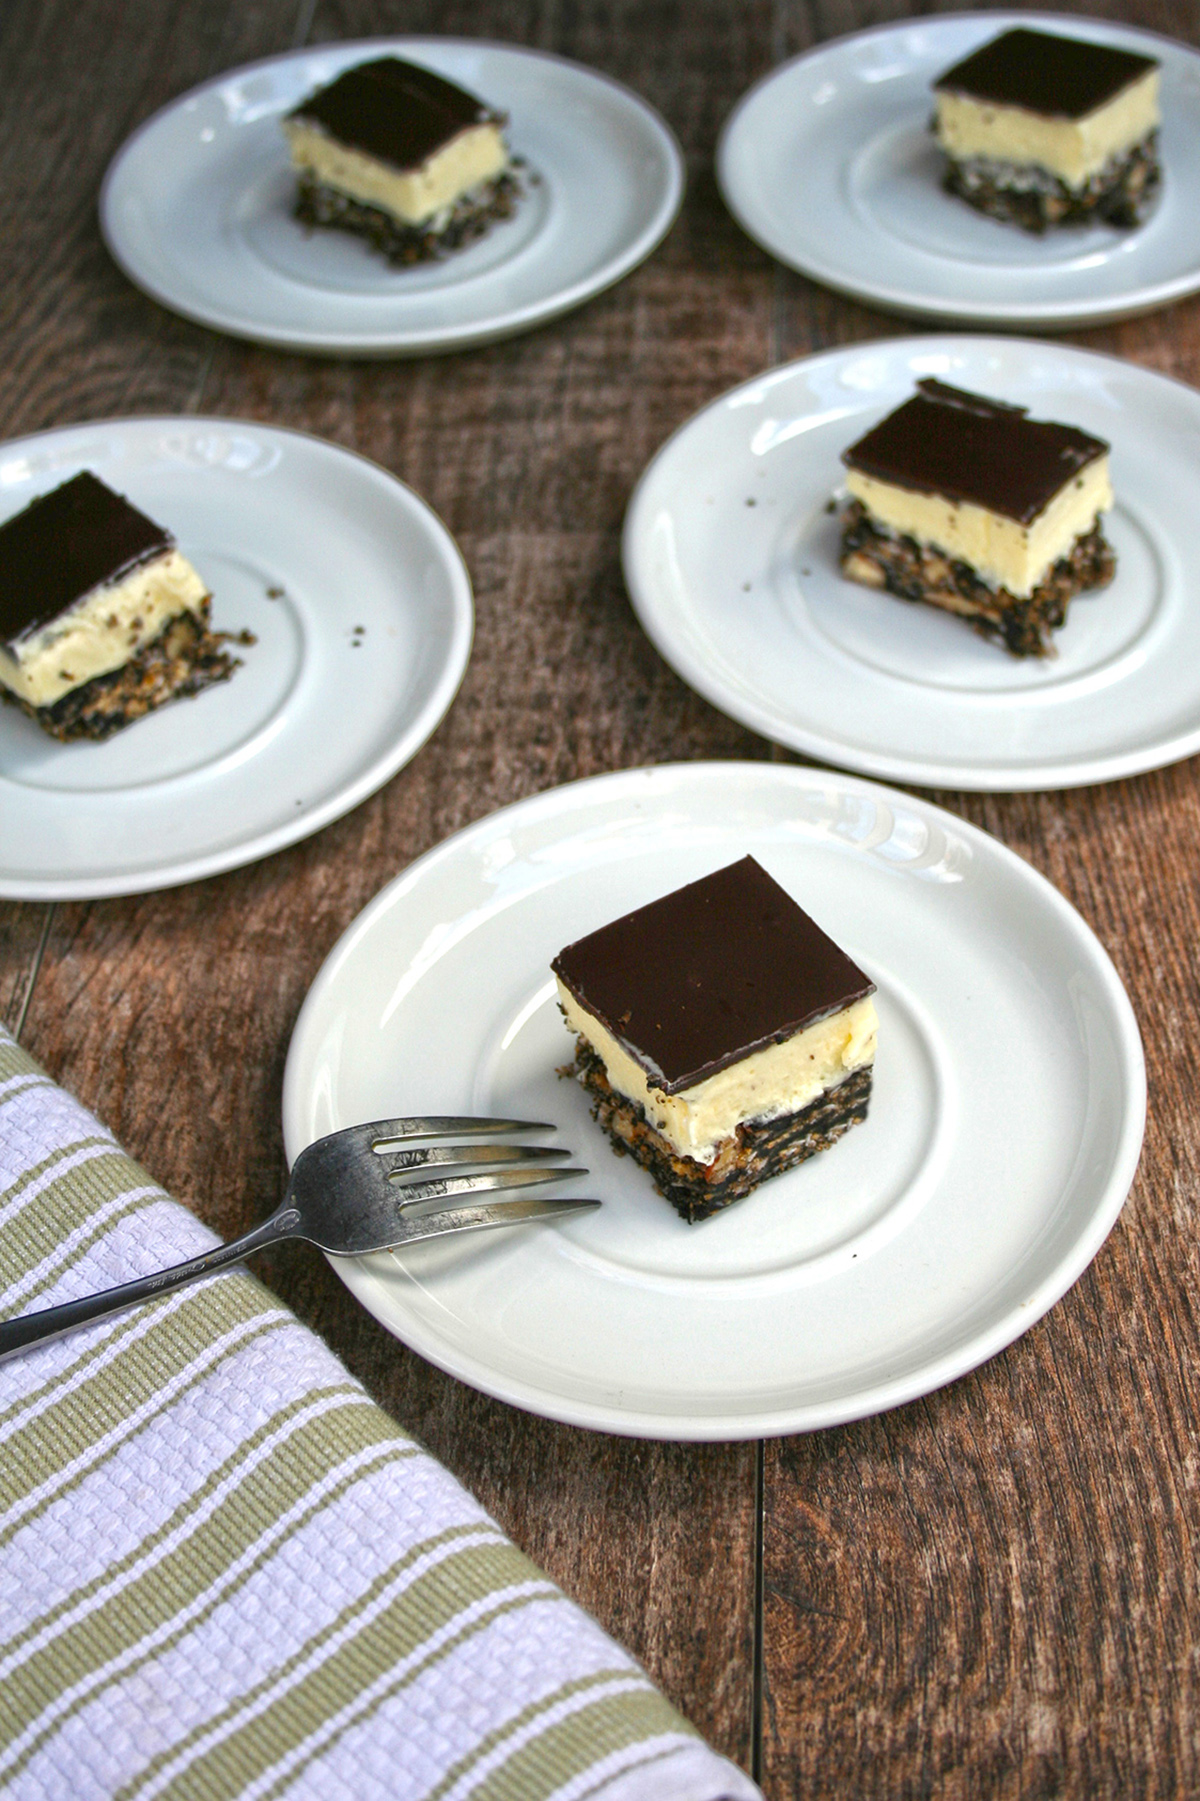
Olive Oil Nanaimo Bars are a no-bake bar cookie that hails from a city by the same name in Western Canada. The traditional bars are composed of three layers: cocoa, coconut, nut, and graham cracker crust, a custard buttercream midsection and a firm chocolate topping.
Lightly grease, and line with parchment paper, an 8x8-inch square baking pan.
Prepare the crust. In a large saucepan, combine the olive oil, granulated sugar, and cocoa powder. Place over medium-low heat, and cook until the sugar has dissolved and the mixture begins to bubble.
Remove from heat briefly, and whisk in the beaten egg. Return to medium-low heat, and cook briefly, stirring constantly, until the mixture begins to thicken. This will only take a few minutes.
Remove from heat, and add the coconut, crushed graham crackers, and chopped pecans. Stir until the ingredients come together into a cohesive mixture.
Press the mixture into the prepared pan, taking the time to press it into a layer as even as possible. Place the pan in the refrigerator for about 30 minutes, so it can chill before the next step.
Make the filling. In the bowl of a stand mixer fitted with the whisk attachment, or using a hand mixer, whip the cream on high until it forms soft peaks. Pause the mixing, and add the sugar and custard powder or pudding mix. Whip until the mixture forms firm peaks. Stop mixing, and fold in the olive oil.
Spread the whipped cream mixture on top of the crust, making sure to spread it as evenly as you can. Let chill in the freezer for an hour, or until firm.
Prepare the topping. In the top of a double boiler, melt the chocolate (this can also be done in the microwave). Once melted, remove from heat and whisk in the olive oil, mixing until the two have formed a cohesive mixture. Let cool for about five minutes so it is not scorching hot. Give it one last stir, then pour it over the chilled middle layer of your bars. Rather than spreading, which can tear up the delicate middle layer, gently tilt the pan this way and that, letting it drip until it has evenly covered the middle section.
Return to the refrigerator. After about 20 minutes, remove the pan; the chocolate on top should be partially set. Partially slice the bars, scoring the top chocolate portion into four rows vertically and horizontally. This will make slicing the bars easier later.
Once scored, place the bars back in the refrigerator and let chill for several hours to firm before slicing into bars. If the bars are messy when you begin to slice, place the pan in the freezer for several minutes; this should make them easier to slice.
Keep these bars chilled. The bars will last up to a week when covered in plastic and stored in the refrigerator, or up to a 2 months in the freezer.
Serving Size 16 Bars